The Nim Ray Tracer Project — Part 1: Introduction
[Listening to the albums Reverberant Skies and White Maps from Aglaia in an infinite loop… A beautifully hypnotic experience! The track In the First Spinning Place from White Maps is my absolute favourite.]
Why a ray tracer?
I’ve been fascinated by ray tracing since my childhood. I still remember the first time I was playing around with an early 3D modeller/ray tracer program on the Amiga 500 called Imagine when I was about 13, trying to render some extruded letters made of glass placed on a classic checker-board patterned surface (don’t laugh, this was sort of a novel thing to do at that time, and I was a kid). Well, rendering the final 360x576 image (overscan!) took a bit more than 7 hours, but when I turned on the monitor in the morning in great anticipation and saw the final image in its 4096-colour interlaced glory (probably quite primitive looking by today’s standards), I was in awe! What made the experience even more interesting for me was that Imagine supported the use of so-called procedural textures, which are textures solely generated by mathematical functions instead of using bitmap images. I was mesmerised—a photorealistic image generated by the computer using nothing else but pure maths! 1
I have always thought of ray tracing as some kind of black magic—something utterly fascinating and very scary at the same time because of the complex maths involved (which, as it turns out, is not quite true). This belief was also strengthened by my modest excursions into OpenGL programming years later, which uses a different method called rasterization to generate 3D images.
Ray tracing vs rasterization
Historically, there have been two main disparate approaches to rendering 3D scenes, rasterization and ray tracing (the situation is not so clear-cut nowadays, as we’ll see later). While rasterization is by several orders of magnitude more efficient at producing 3D animations at smooth frame rates in real-time, ray tracing can produce vastly more photorealistic results. While many visual effects that happen in real life, such as non-planar reflections, soft shadows, refractions and caustics, are quite simple, albeit computationally very costly, to calculate with ray tracing, it requires quite a bit of complicated trickery even just to fake them with rasterization.
At the risk of grossly oversimplifying matters, rasterization is very efficient at projecting several hundreds of thousands of three-dimensional triangles onto a two-dimensional surface (the screen) and then colouring (shading) them according to some rules. In order to obtain reasonable frame rates during real-time animation, certain simplifications and optimisations have to be made. Photorealistic rendering that accurately portrays how a given scene would look in real life is not necessarily of primary importance as long as the end result looks pleasing (which is a reasonable assumption for many applications such as visualisation and games, where absolute fidelity to reality is not a requirement). It’s the 3D artists' job to arrange those coloured triangles so that the resulting image looks good. Most graphics-accelerator cards today implement some sort of rasterization pipeline in hardware.
Ray tracing, on the other hand, is a pretty much a no-holds-barred approach of generating realistic images on a computer by simulating the path of photons emitted by light sources bouncing from surface to surface among the objects making up the 3D scene, finally landing on the image surface of the virtual camera. Photorealism is of primary importance here, which is achieved by calculating the image pixel by pixel using algorithms that mimic the laws of physics as closely as practically possible (certain simplifications must be made, of course, otherwise we would end up writing a Universe Simulator!).
This begs the question, is ray tracing superior to rasterization then? In some way, we can say it is. As far as photorealistic rendering is concerned, ray tracing is hard to beat, however this comes at a very steep computational cost. But if we asked whether it was possible to create pleasing imagery using rasterization alone, the answer would be a yes again. Just because rasterization is not as much rooted in physical reality as ray tracing, it would be foolish to think that it’s not capable of producing stellar results that can look very convincingly real (just look at any modern game released post 2010!). Indeed, there’s nothing preventing skilful artists from arranging the triangles making up the scene in such a way that can convey very realistic final results—similarly to how a master painter can create astonishingly realistic works of art by nothing more than applying differently coloured specks of paint onto a canvas with a mere paintbrush.
As CPUs and GPUs grew more powerful, previously purely rasterization-based game engines have been increasingly incorporating ray tracing techniques into their toolbox, such as global illumination, real-time reflections and pseudo-refraction using shaders. These techniques are usually quite limited compared to their ray tracing counterparts, for example global illumination is usually restricted to static objects, reflections are only possible on planar surfaces and refraction is faked with shaders.
Also, more and more game engines have started implementing physically-based rendering (PBR) methods recently, the renowned CryEngine being one notable example. The following is the introductory paragraph of the Physically Based Shading chapter of the CryEngine SDK documentation:
CRYENGINE 3.6 and beyond uses a shading model that is based on fundamental physical rules. Instead of using a plenty of fudge and tweak factors which don’t have a reasonable meaning in the real world, materials use some physical properties to describe how the incoming light should interact with them. A huge advantage of using a physically based model with certain rules is that material assets will a lot more consistent and look more convincing under different lighting conditions.
This supports my earlier claim that while it’s certainly possible to create realistic visuals with rasterization, photorealism is not inherent in the rendering algorithm, but requires manual tweaking and fine-tuning of various parameters on the part of the 3D artist.
To sum up, I personally tend to think of rasterization as a more artist-centric and ray tracing as a more scientific approach of image generation. Ultimately, both are just tools of solving the problem of mapping a 3D scene onto a 2D image surface, but there’s a certain undeniable beauty and elegance to ray tracing algorithms in how they generate complex visual and optical effects by the application of just a few simplified physical models of reality.
In defence of rasterization
Just to bring the point home that rasterization is not inferior to ray tracing but only different, and to further support my argument that it is a more artist-based approach to rendering, let me present two examples from the two opposite ends of the spectrum of what rasterization is capable of. As we’ll see, it would have been difficult or impractical (or both) to achieve the same results with pure ray tracing techniques alone in both cases.
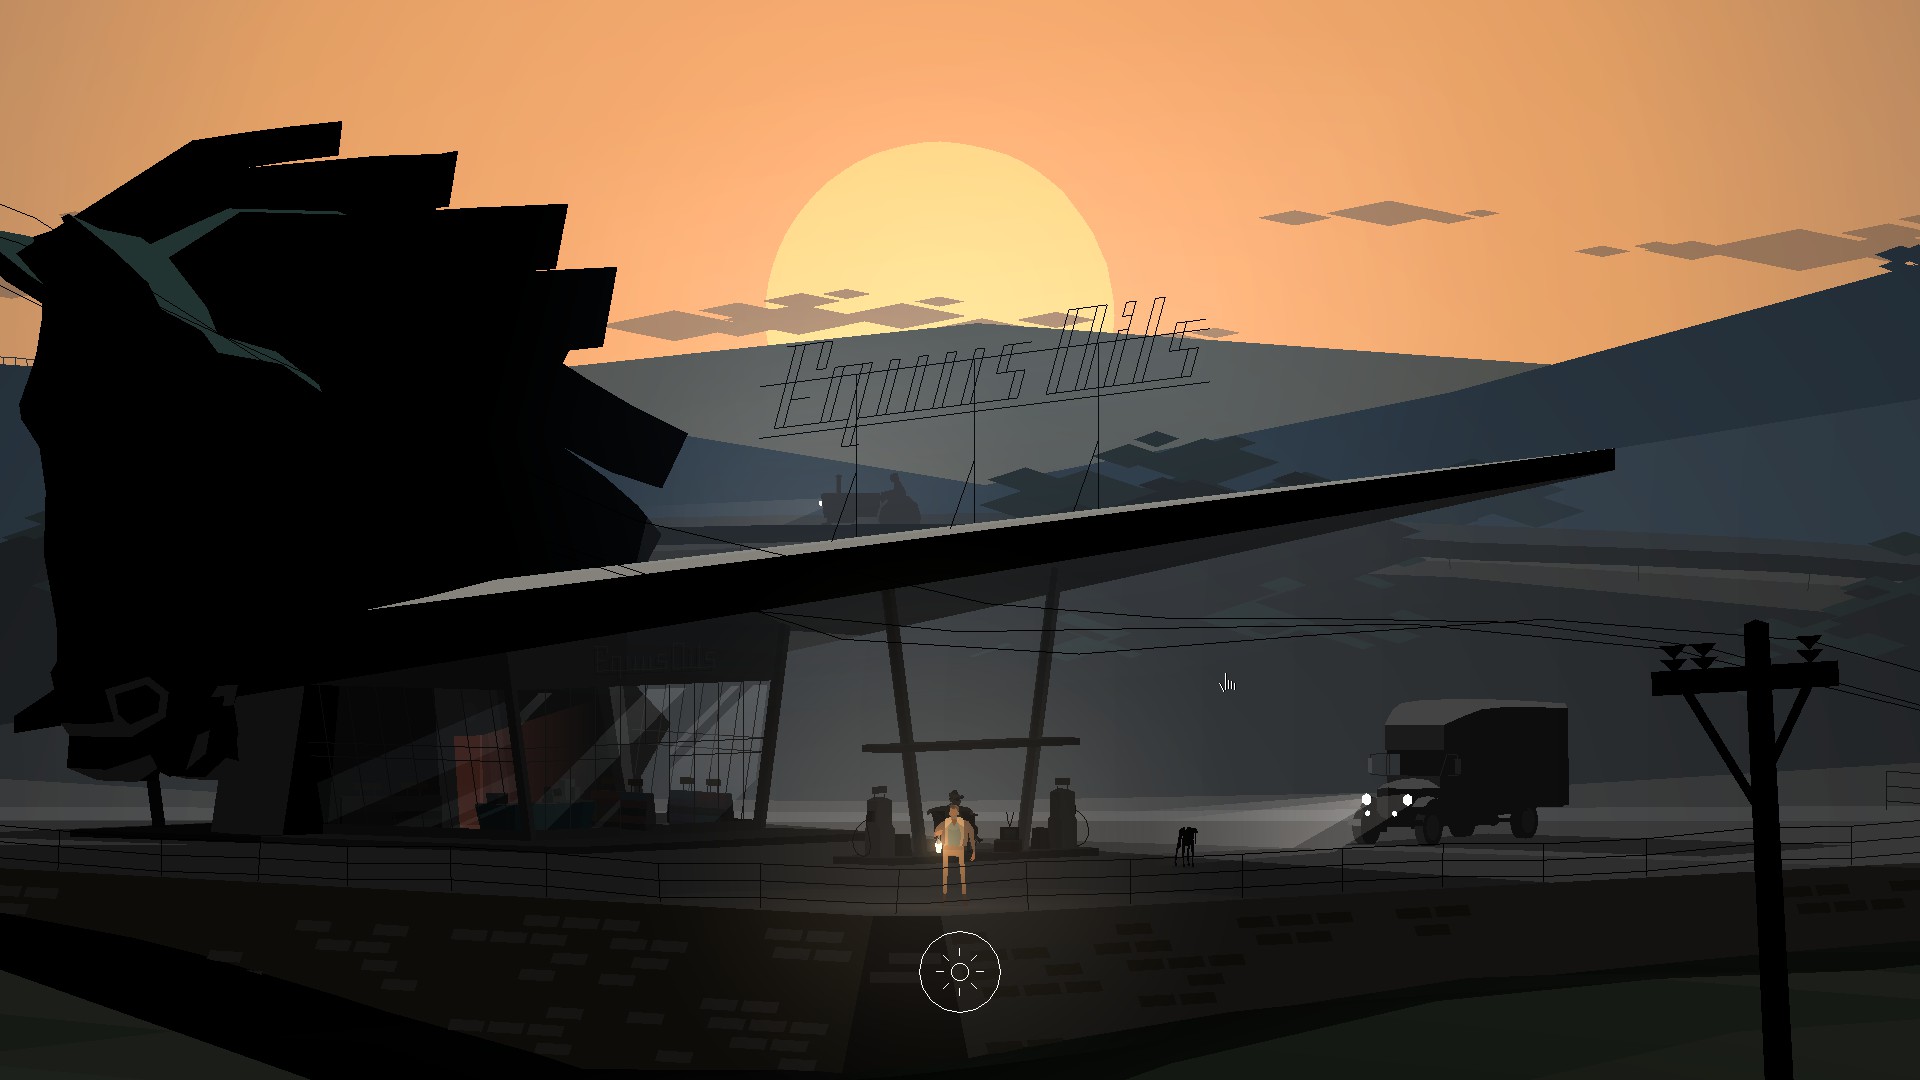
The magical realist adventure game (whatever that means) Kentucky Road Zero by the aptly titled developer Cardboard Computer uses clever rasterization tricks to render its highly stylised low-polygon world. While the abstract visuals bear similitude to simple 2D paper cut-outs in most scenes, some occasional camera angle switches hint at it that there’s more going on under the hood, and indeed, this is in fact the 3D engine Unity in action, as evidenced by this featured article.
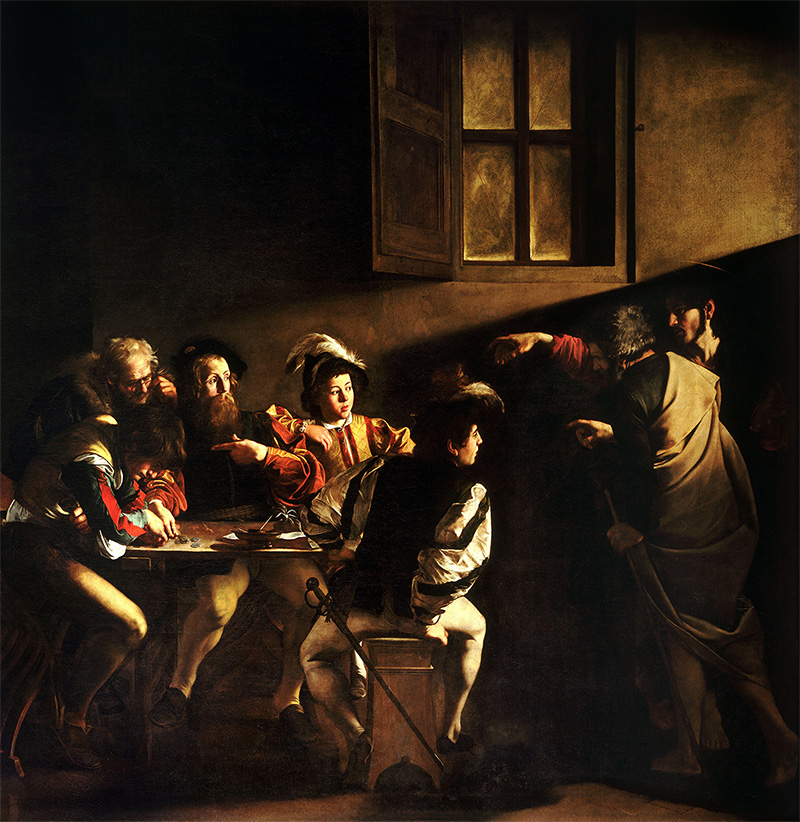
The Astronauts' first-person mystery game The Vanishing of Ethan Carter, on the other hand, employs a breathtakingly beautiful painterly approach to create its immersive in-game atmosphere. As it can be clearly seen on the screenshot, the results are stunningly realistic, but in a dreamy and artistic kind of way which is not dissimilar at all to the Caravaggio painting presented above. The developers used a technique called photogrammetery to effectively sample reality in the form of textures and 3D meshes from thousands of photographs, but from there on it’s all traditional rasterization using the Unreal Engine.
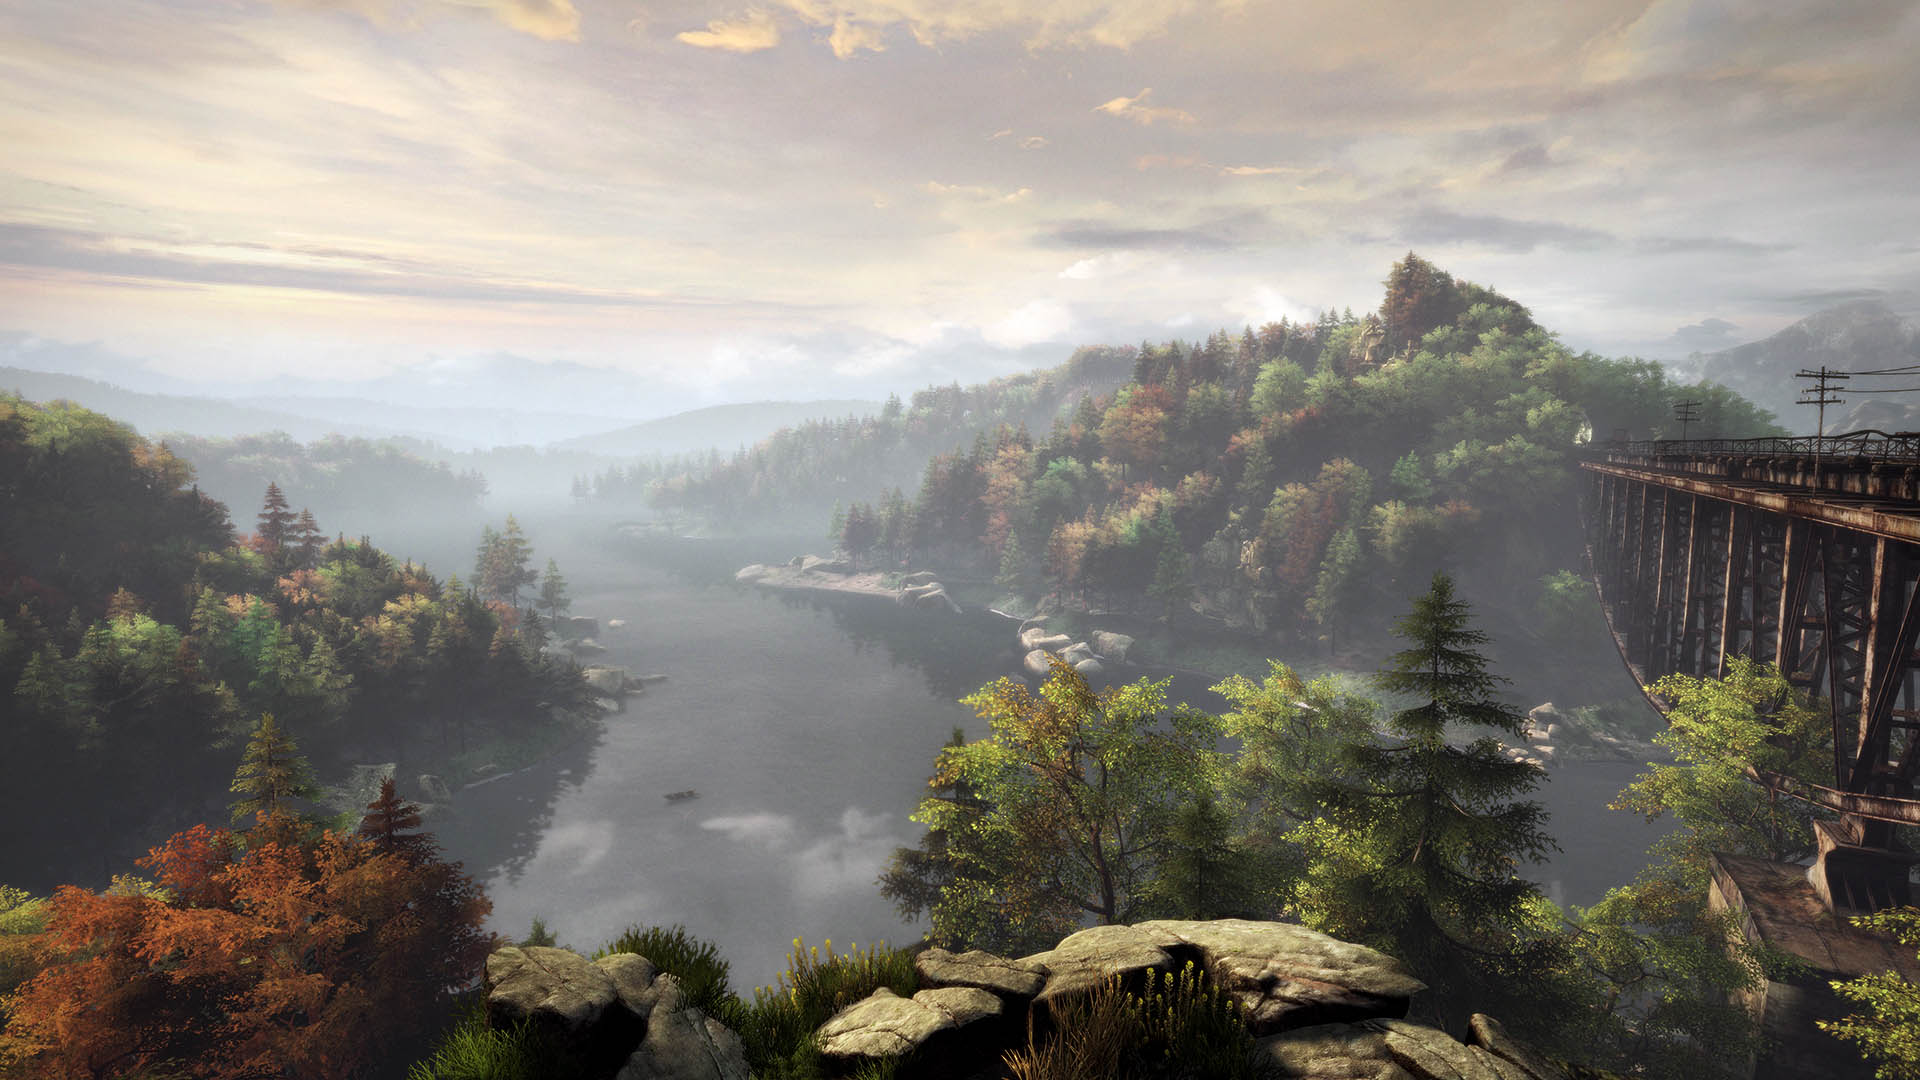
I suspect it would have been quite difficult to achieve the same level of painterly feel by employing a strict ray tracing approach, even if that was possible at fluid frame rates on current hardware at all. While ray tracing would have certainly yielded a more faithful portrayal of reality in terms of sheer physical accuracy, it could not have granted the artist as much creative freedom to sculpt the games’s almost otherwordly beautiful scenes by freely manipulating the shades and colours. Atmosphere and emotions beat pure physics in this example again.
Why Nim?
You know the old saying, mastering a programming language just by reading about it is like trying to learn how to ride the bicycle from a book. I get quickly bored by solving toy textbook exercises too; implementing quicksort in yet another language is not quite my idea of having a good time, really. What works for me best is writing a new application from scratch that does some cool stuff that I’m excited about and learn the new language along the way. So that’s what we’re gonna do here, write a full-featured ray tracer from the ground up in pure Nim!
Oh, and why Nim? Serious people™ use C++ for high-performance graphics stuff, don’t they? Well, this is going to be a ray tracer, so speed matters a lot, indeed—but so does the fun factor and my sanity too, as I’m not paid to suffer here, this being a hobby project and all (on a related note, don’t be a masochist, just say No to C++!). Nim claims to be “Efficient like C, expressive like Python and flexible like Lisp” which sounds pretty good in my book. In fact, C, Python and Lisp are probably my three all-time favourite languages, so this actually sounds more like a dream come true! So what we’re gonna do here is take this little guy for a wild ride and see how it lives up to its lofty goals in the real world!
In the next episode…
We will examine the mathematical foundations of writing a simple ray tracer. Time to brush up those high-school trigonometry skills! Stay tuned!
To put things into perspective, my experimentations with ray tracing on the Amiga took place in around 1992. There was virtually no Internet back then, I haven’t even heard the word until several years later. I read it in a paper computer magazine (yes, those things did actually exist, can you believe it?) that the CGI effects in the 1991 film Terminator 2: Judgement Day were rendered on a room full of ultra high-end (and ultra-expensive) Silicon Graphics IRIS workstations, but even with that kind of computing power it took several months to render a few minutes' worth of scenes. Now, seeing any kind of semi-photorealistic ray traced image come out of my modest Amiga 500 personal computer setup sporting a blazingly fast 7.14 Mhz Motorola 68000 CPU seemed nothing short of a small miracle to me then! (Actually, that chip is as old as yours truly, I’ve just checked…) Oh, and I had no such luxuries as a hard disk drive either—the whole program and the scene to be rendered had to fit into the machine’s whopping 1 MB of RAM (expanded from the 512 KB factory default) and the final image was then slowly written to a blank 880 KB floppy disk over the course of 7-8 hours! Eh, kids these days with their GPU-accelerated Monte Carlo path tracers… ↩︎
Comments
comments powered by Disqus